If you've been eagerly waiting to use Face Fusion with full CUDA support on Google Colab, your wait is over. In this guide, I'll walk you through the process of setting up and using Face Fusion with various tunneling options, ensuring a smooth and efficient experience.
Getting Started with Face Fusion on Google Colab:
1 - Make sure you are logged in using you g-mail on your google chrome browser.
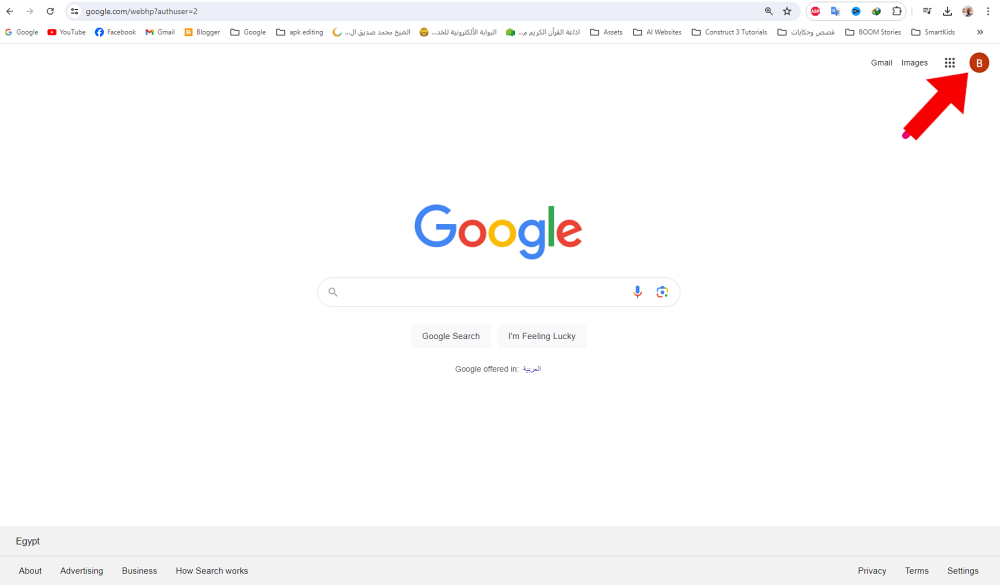
2 - Open the google colab project FaceFusion2.6.1 - 4Tunnels : Click Here
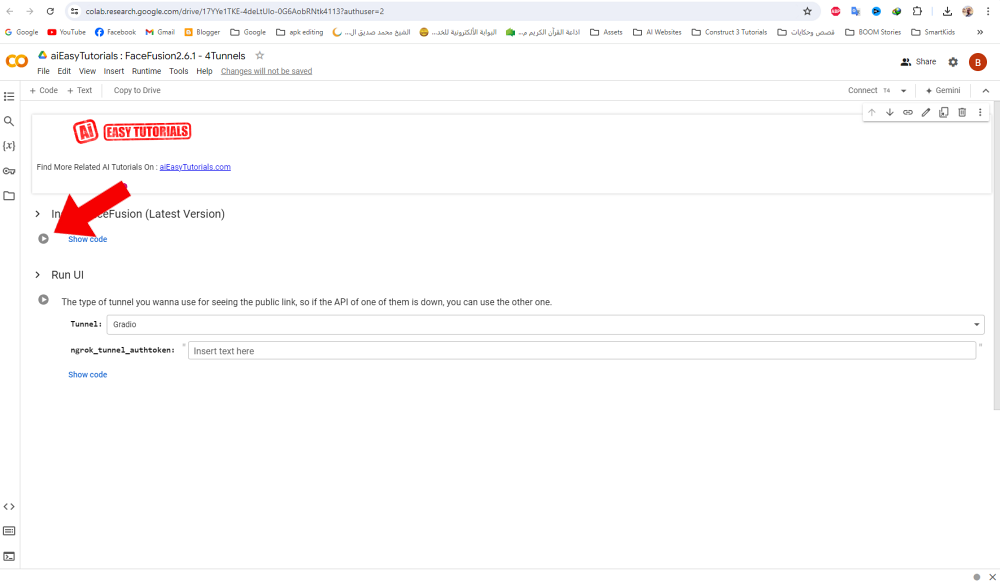
3 - Run the first cell:
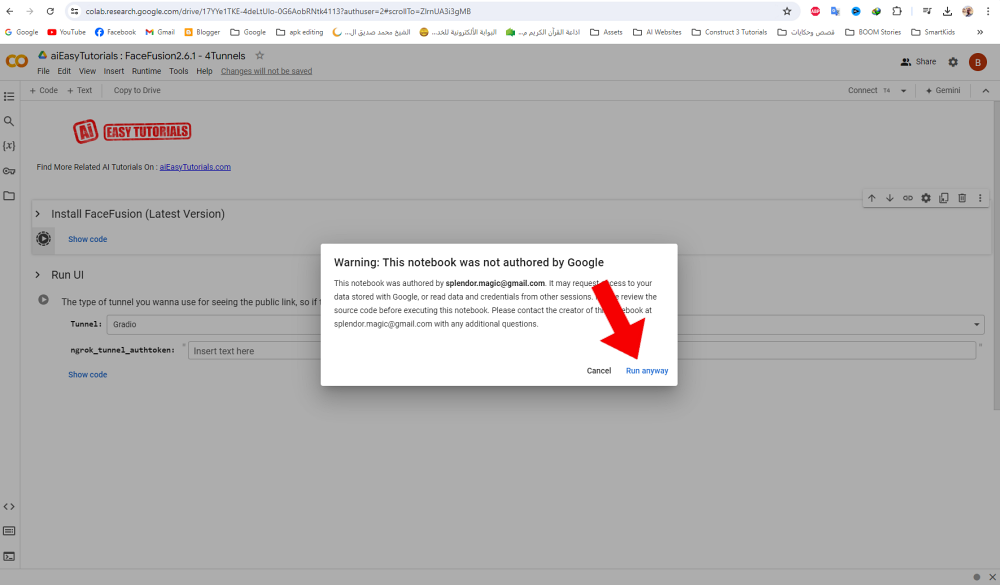
4 - Click Run Anyway
The cell will start working...
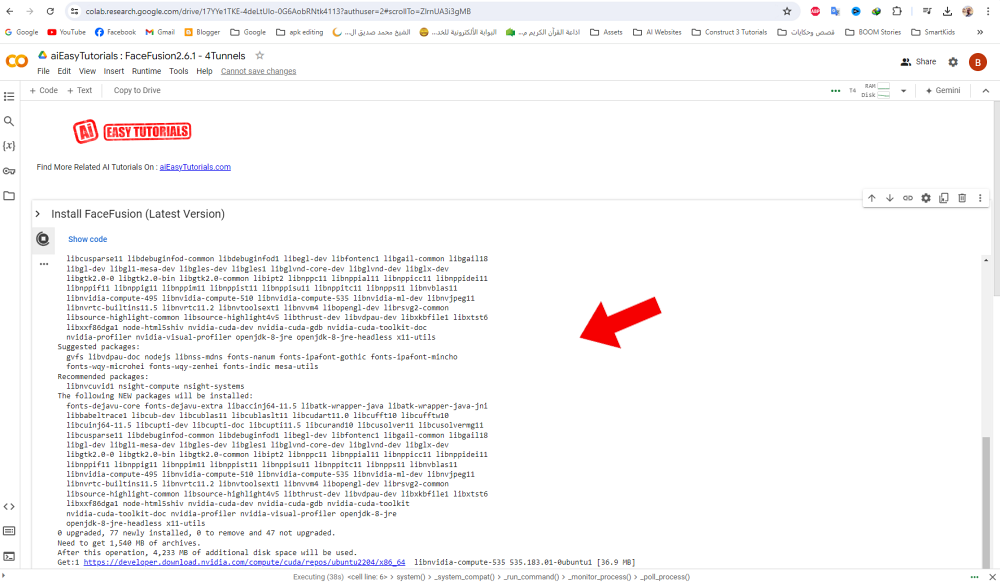
After nearly 5 minutes, The first cell will finish the installation
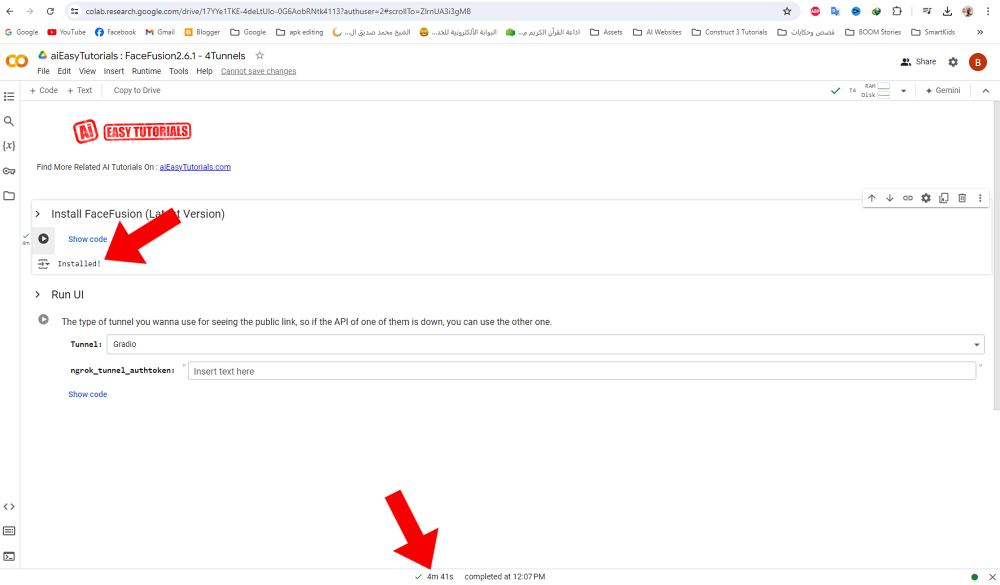
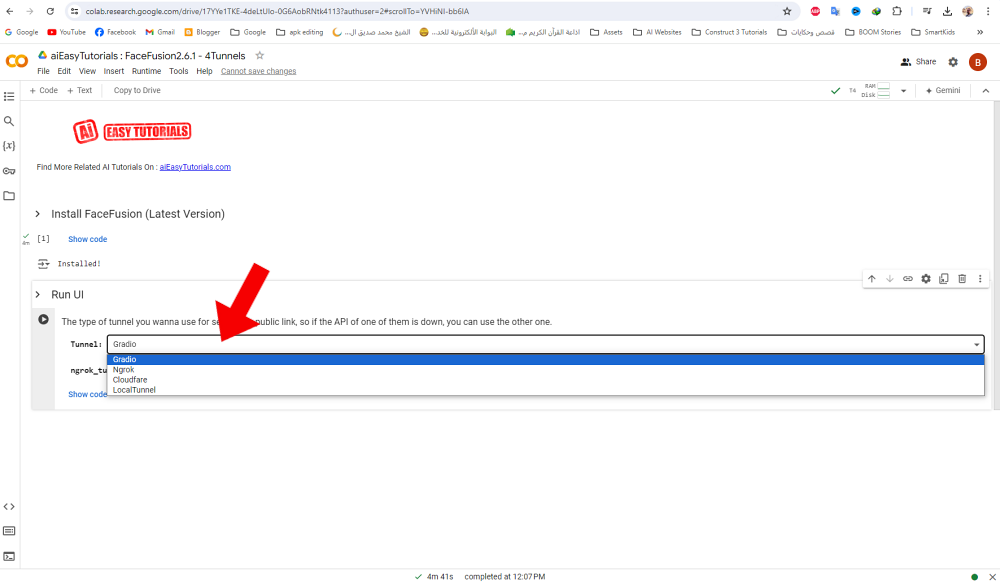
Now on the next cell, you have 4 options to run FaceFusion (Gradio, Ngrok, Cloudflaer, Local Tunnel)
5 - Lets try the first and the most popular choice (Gradio) and run the cell
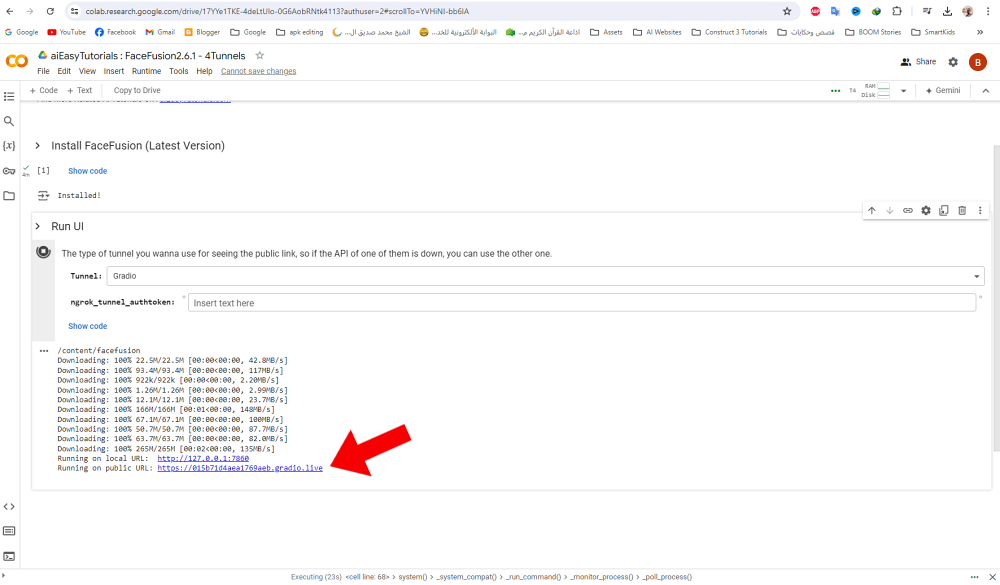
Afer few seconds, a puplic URL wil appear. Click on it to open FaceFusion UI
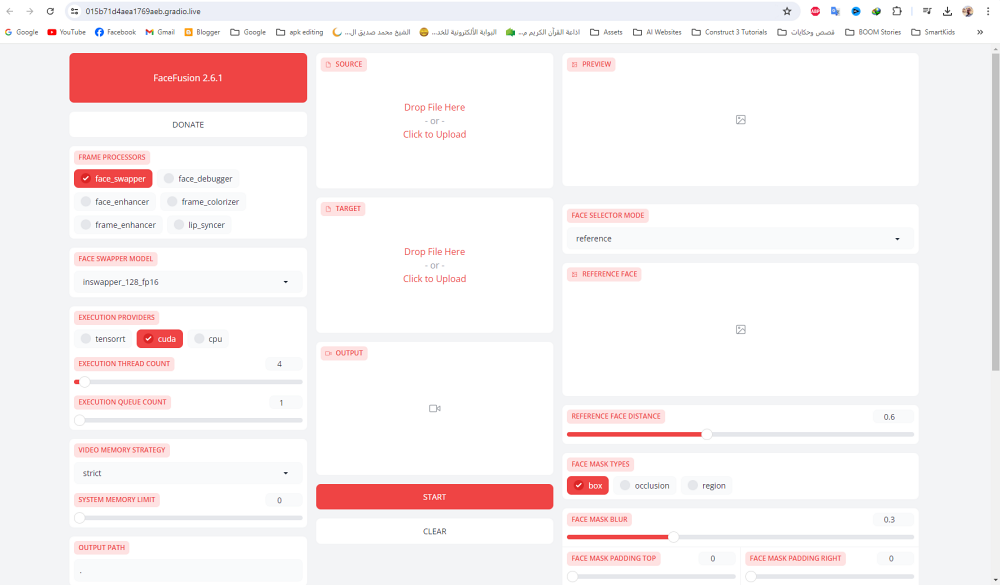
Congratulations, Now you can use FaceFusion to replace faces in videos and photos for free.
If you want to use another tunnel or the tunnel didn't work, stop the cell
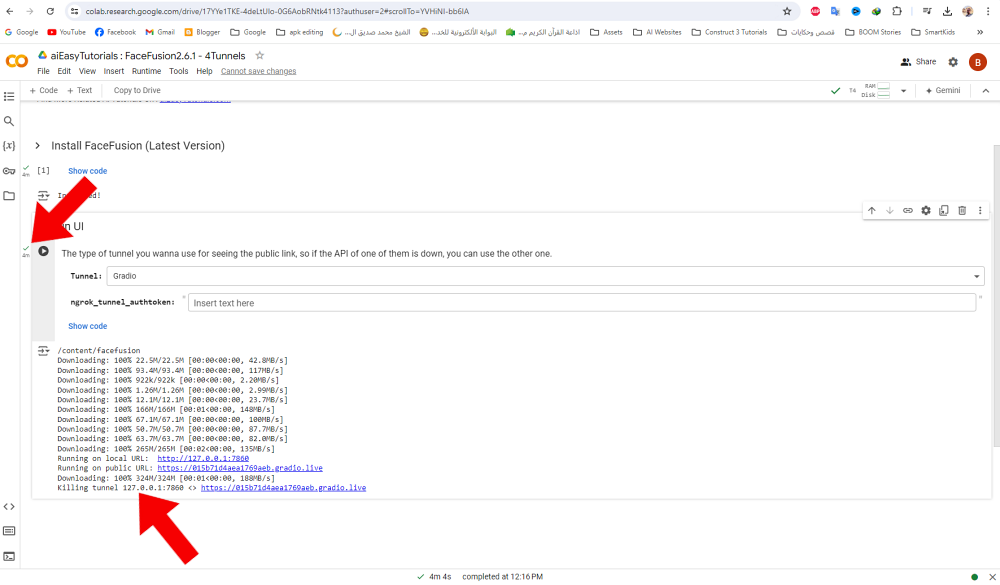
Then select another tunnel choice, Lets try Local Tunnel as the best second choice after Gradio. and run the cell again.
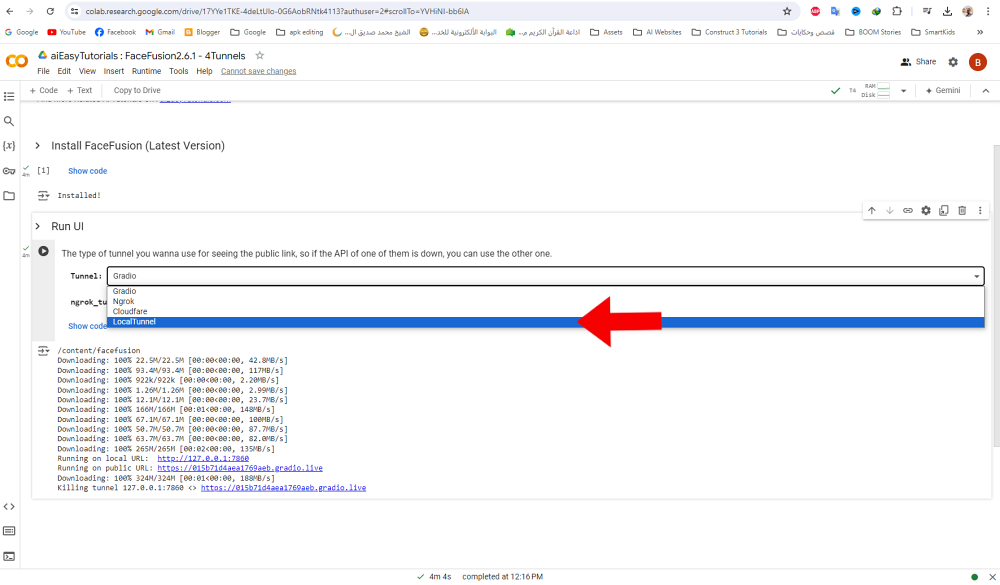
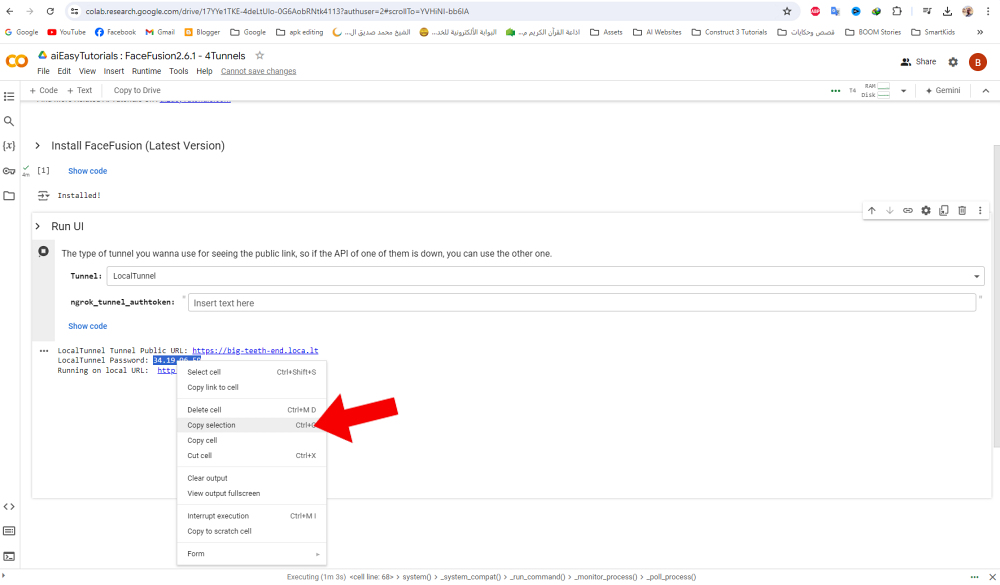
After Few sceonds, This password will appear to you

Copy this password, select it , right click and choose "Copy selection"
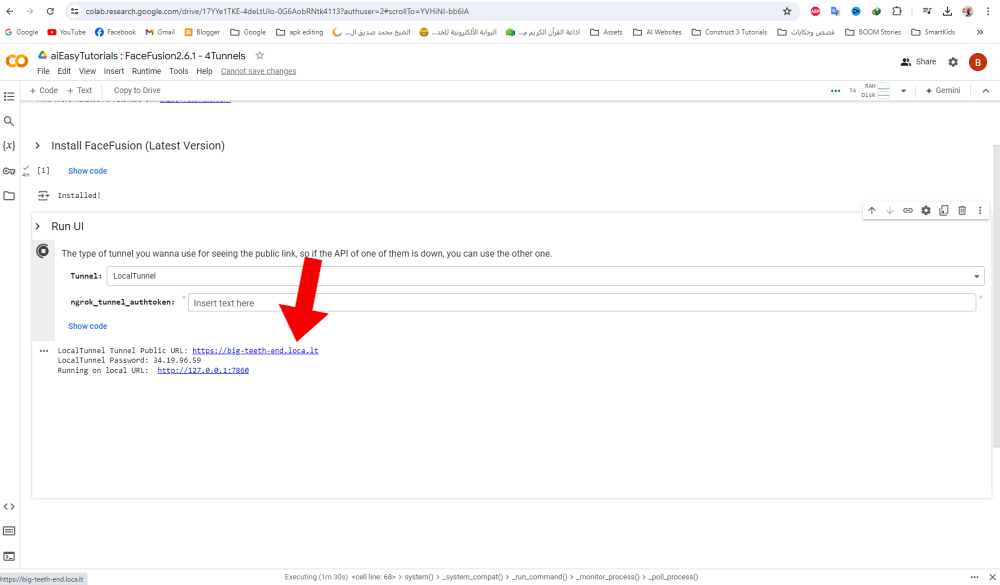
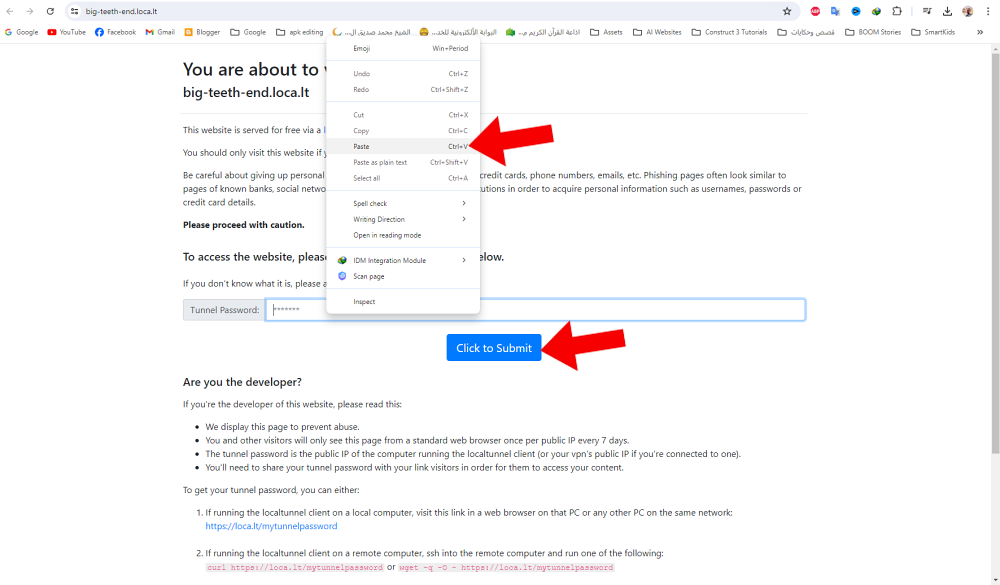
Then open this puplic URL
Paste the password, and click "Click to Submit"
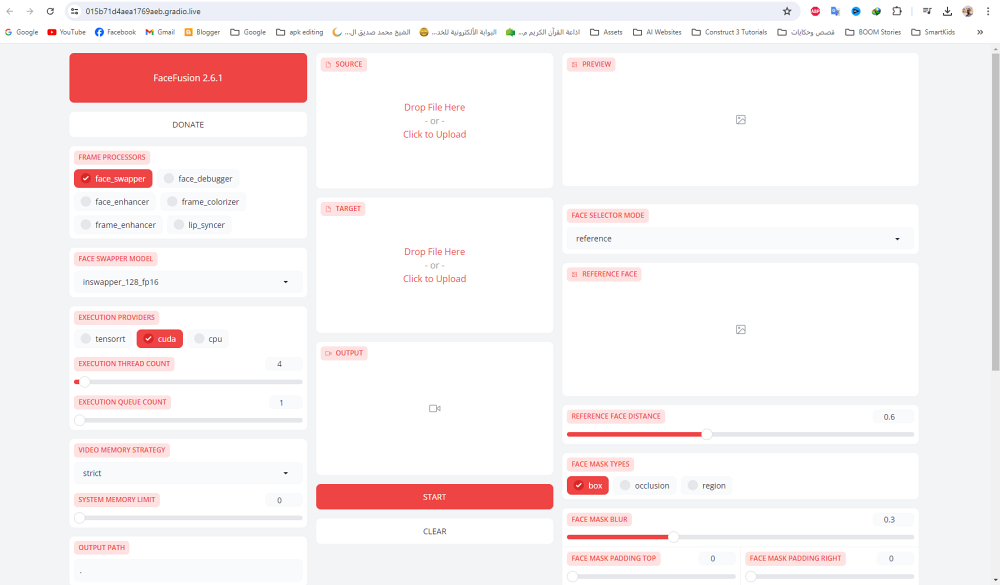
The FaceFusion UI will appear to you. and that's it.

You must be logged in to post a comment.